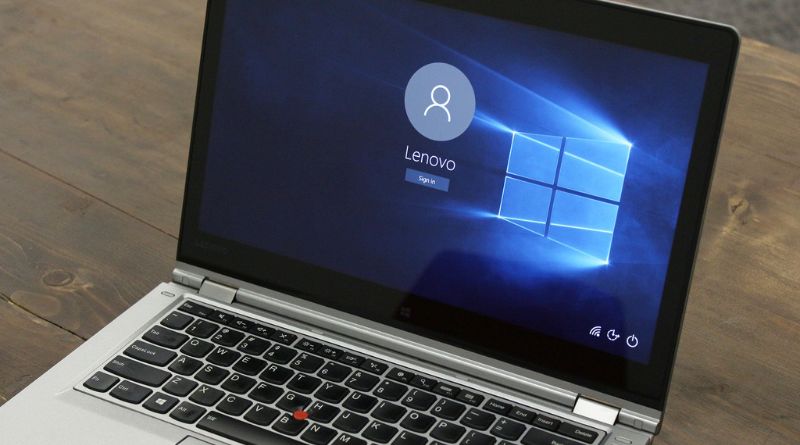
Microsoft’s latest operating system, Windows 10, has been out on the market since last summer, and it comes with some pretty neat new features and improvements over previous versions of Windows. While one of these new features can be quite handy in certain situations, the lock screen can become an annoyance if you’re not using it — or if you just don’t want to see it every time you log in to your computer. Here’s how to disable the lock screen on Windows 10 in under two minutes.
Open the Registry Editor
- Hit Start, type Regedit, and then hit Enter.
- Give Registry Editor permission to make changes to your PC.
- Navigate to HKEY_LOCAL_MACHINE\SOFTWARE\Policies\Microsoft\Windows\Personalization
- Double-click DisableLockScreen
- Click OK
- Close the Registry Editor
- Restart your computer
- You can now close any open windows or programs
- Log back into your user account with a password and you will be greeted by a desktop background instead of the lock screen. When you restart your computer again, it will be just like when you first started it up – only this time there is no pesky lock screen to get in the way of what you want to do! With some practice, you can even master creating shortcuts to bypass the Lock Screen entirely by going straight to a folder or program that’s opened often.
The only problem is that sometimes Windows goes right back to the Lock Screen once you’re done using those programs! To prevent this from happening: The open Control Panel
(1) Open System and Security
(2) Select Power Options
(3) Change the When I sign out setting from Switch User to Shut Down
Go to HKEY_LOCAL_MACHINE\SOFTWARE\Policies\Microsoft\Windows\Personalization
If you don’t see the Personalization key, you’ll need to create it. To do so, right-click on the Windows key and select New > Key. Name it Personalization and press Enter. With the Personalization key selected, right-click in the empty space on the right side of the Registry Editor and select New > DWORD (32-bit) Value. Name it NoLockScreen and press Enter. Double-click on NoLockScreen and change its value from 0 to
- Close the Registry Editor and reboot your computer. When you log back in, you’ll find that your Lock Screen has been disabled!
So now that we’ve successfully disabled our Lock Screen, let’s look at how to enable it again if we ever want to go back. Open up the Registry Editor and head to HKEY_LOCAL_MACHINE\SOFTWARE\Policies\Microsoft\Windows\Personalization. If you created a Personalization key earlier, then all you have to do is double-click on NoLockScreen and set its value back to 0 (or delete it).
Change the NoLockScreen value from 1 to 0
- Type Regedit into the Start Menu and press Enter.
- Find HKEY_LOCAL_MACHINE\SOFTWARE\Policies\Microsoft\Windows\Personalization in the Registry Editor.
- If there is no Personalization key, right-click on Windows and select New > Key. Name it Personalization.
- Double-click on NoLockScreen in the right pane and change its value from 1 to 0. 5. Press OK and then Exit. Reboot your computer for changes to take effect.
- Open Settings app > Accounts > Sign-in options or type sign in options into Cortana’s search bar, select Sign-in options link. Under the Sign-in options tab, choose Never show my account on the sign-in screen. Click Change what you want others to see ********* on my sign-in screen and uncheck show my account. Click Save changes button at bottom of the page.
Reboot your computer
If you’re running into issues with the lock screen on Windows 10, there’s a chance a simple reboot will fix things. Here’s how to Hold down the power button for 10 seconds to turn off your computer and then turn it back on. Open Settings by clicking or tapping it from the Start Menu. Go to Personalization > Lock Screen. Uncheck Show lock screen. Save changes.
There are now no more steps necessary to disable the lock screen on Windows 10. Just restart your computer as usual when done so that everything runs smoothly again. It’s time-consuming enough getting used to all of Windows 10’s new features without dealing with an annoying lock screen every time you boot up your PC!